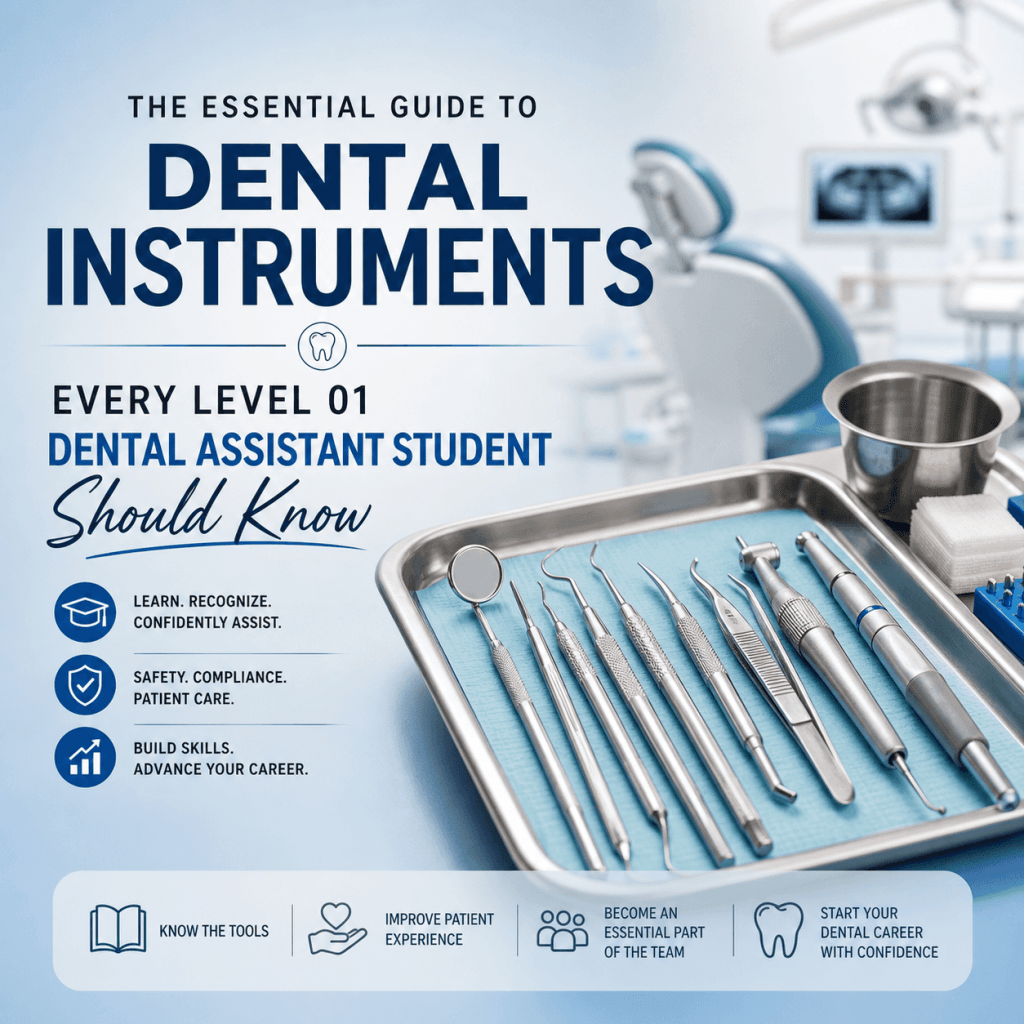
Below is a practical, student-friendly guide to the dental instruments you will see most often, what they do, and why they matter in real clinical workflows.
Why Level 01 dental assistant students need to learn instruments early
In a real dental practice, speed does not come from rushing. It comes from recognition. When you know instrument names, parts, and purpose, you can set up efficiently, pass safely, and anticipate what is coming next without guessing.
That matters for your career outcomes. Practices want assistants who are:
- Clinically confident in day-to-day procedures
- Legally compliant with infection control and sharps safety
- Reliable under pressure, especially when the schedule is full
- Proactive, not waiting for step-by-step instructions
Level 01 training is where those habits begin. The instrument foundation you build now makes everything easier later, because you start thinking in procedure sequences instead of isolated tool names.
At Broward Dental Academy, students benefit from a training approach that mirrors the real world: hands-on clinical immersion, modern eLearning lesson plans, and internship-style exposure to how instruments are used in today’s workflows.
As part of your training, you’ll likely delve into various specializations such as [Orthodontics](https://browarddentalacademy.com/orthodontics/), Endodontics, or Periodontics. Each of these fields has its own set of specialized instruments that you’ll become familiar with during your Level 01 training.
How dental instruments are organized in a typical tray setup
Most trays follow a workflow logic. The steps may vary by provider, but the flow is consistent:
- Exam and diagnosis
- Isolation and moisture control
- Anesthesia (if needed)
- Operative/restorative care or hygiene support
- Suction and instrument transfer throughout
- Cleanup and instrument processing
Instruments are commonly grouped into categories:
- Diagnostic
- Periodontal/hygiene
- Restorative
- Surgical
- Isolation
- Impression/prosthodontic
- Orthodontic
- Endodontic support
- Sterilization/processing
Quick instrument transfer reminder: pass on the handle, orient the working end for the dentist, and avoid crossing over the patient’s face. Smooth transfers are a big part of what makes an assistant look and feel “job-ready.”
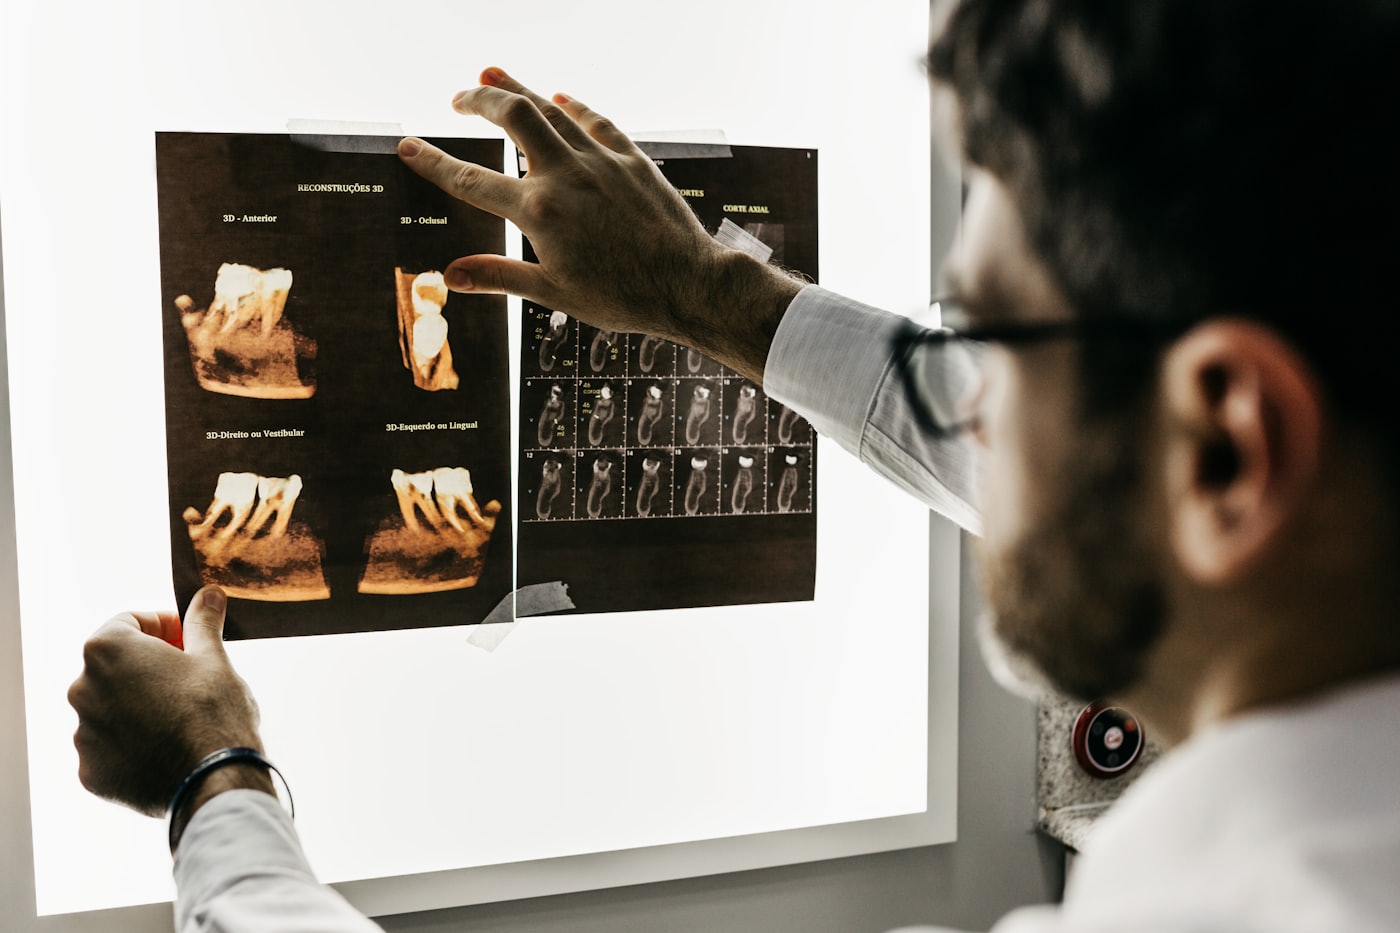
Diagnostic instruments (the starting point of almost every appointment)
These instruments are where most students start, and they show up in almost every appointment.
Mouth mirror
A mouth mirror supports:
- Indirect vision (seeing around corners)
- Retraction (moving cheek or tongue gently)
- Illumination (reflecting light)
Student tip: fogging is common. Warm water, anti-fog solution, or simply keeping airflow controlled helps. Also, mirrors retract best with steady, gentle pressure instead of pushing hard.
If you’re considering a career in dental assisting or looking to enhance your skills with certifications, it’s crucial to understand how these instruments work and their importance in various procedures. For those interested in pursuing such courses that offer comprehensive training on these aspects, you can find more information on our website.
Additionally, if you have any frequently asked questions regarding dental practices or our courses, we have a dedicated section to address those queries. We also have multiple locations where our training programs are conducted, providing you with ample opportunities to learn and grow in this field.
Explorer (shepherd’s hook/17) vs. periodontal probe
These are often confused early on.
- Explorer (often “shepherd’s hook,” like #17): used to evaluate tooth surfaces, margins, and detect irregularities.
- Periodontal probe: has visible millimeter markings and is used to measure pocket depths around teeth.
If it has clear measurement markings, it is a probe, not an explorer.
Cotton pliers (college pliers)
Used to pick up and place:
- Cotton rolls
- Gauze
- Small items (like wedges or cotton pellets)
Safety habit: avoid passing small items over the airway. Keep movements controlled and always confirm where your working end is.
A common early win is simply knowing the names and recognizing when each appears during the exam sequence. That alone reduces hesitation in clinic.
Periodontal and hygiene support instruments you’ll see constantly
Even if you are not the one scaling, you must recognize these tools and understand set-up and safety.
Sickle scaler vs. curette (recognition level)
- Sickle scaler: pointed tip, triangular cross-section, commonly used for supragingival calculus.
- Curette: rounded toe, more curved working end, often used subgingivally.
As an assistant, your job is often to identify what the hygienist or dentist requested, stage it correctly, and manage moisture and suction.
Ultrasonic scaler tip overview (recognition + safety)
Ultrasonic units use vibrating tips and water to remove calculus and disrupt biofilm. Assistants commonly help by:
- Ensuring the unit is set up
- Confirming water flow is adequate (water cools the tip and flushes debris)
- Managing suction to reduce aerosols and keep visibility
Prophy angle + rubber cup/brush
In a cleaning appointment, you will often see:
- Disposable or sterilizable prophy angle
- Rubber cup (polishing) or brush (stain/plaque in grooves)
Knowing where it fits in the sequence helps you stage it before it is requested.
Air-water syringe tip basics
Air-water syringes clear the field and rinse. Your awareness matters because a quick rinse at the wrong time can flood the field, especially during checks or when isolation is minimal.
Isolation and moisture control instruments (small tools that make or break the procedure)
Isolation is where assistants shine. A dry field supports better bonding, clearer visibility, and a smoother experience for the patient.
Saliva ejector vs. HVE (high-volume evacuator)
- Saliva ejector: low-volume, flexible, used for routine saliva control.
- HVE: rigid, high-volume suction for heavy water spray, restorations, and aerosol control.
Positioning matters. With HVE, aim near where the spray and debris are produced. For comfort, avoid pulling on soft tissues and do not “seal” the tip against cheek or tongue.
Cheek retractors (Minnesota retractor)
Often used during:
- Restorations
- Impressions
- Surgical support
Safe retraction is firm but gentle, with awareness of patient comfort and tissue blanching.
Cotton rolls, dry angles, gauze
- Cotton rolls: general moisture control in vestibules.
- Dry angles: highly absorbent, often near parotid duct areas.
- Gauze: wiping, throat screen use cases, post-op compression.
Rubber dam basics (recognize and help set up)
Level 01 students should recognize:
- Frame
- Punch
- Clamp
- Clamp forceps
Even if the dentist places it, you may be the one setting it up and having the correct clamp ready.
Infection control habits for suction
Avoid backflow and contamination:
- Do not drag suction tips across clean surfaces
- Change tips per protocol
- Keep suction lines from contacting contaminated areas, then returning to the tray
Local anesthesia setup instruments (know the names, sequence, and safety checks)
Anesthesia setups are high responsibility because they involve sharps, medication, and documentation.
Aspirating syringe
An aspirating syringe allows aspiration (checking if a blood vessel was entered). Recognize it by its design and how the carpule locks into place.
Pass safely by the barrel/handle, and keep the needle oriented away from you and the patient.
Needle (short vs. long) and carpule (anesthetic cartridge)
You should be able to identify:
- Short needle vs. long needle (recognition and correct selection depends on injection type)
- Carpule and how it is handled without contamination
Handling precautions:
- Check packaging integrity
- Avoid bending needles
- Keep the needle capped until the moment of use
Topical anesthetic applicators
Often cotton-tipped applicators used before injection. Know where it fits in the flow: topical first, then the syringe setup.
Sharps safety
Non-negotiables:
- Never pass an uncapped needle hand-to-hand in a risky way
- Follow office protocol for recapping (often one-handed scoop or a recapping device)
- Dispose immediately into a proper sharps container
- Never place sharps in regular trash
What students should practice
Get used to checking:
- Labels and concentration
- Expiration dates
- Lot/expiry documentation when required by protocol
Restorative instruments for fillings (what you’ll set up again and again)
Restorative procedures are repetitive, which is great for learning. The more you understand the flow, the more you can anticipate.
Basic restorative flow
Most fillings follow a pattern:
- Etch/bond
- Place composite or amalgam
- Shape/contour
- Cure (light cure)
- Finish and polish
Hand instruments to recognize and stage
Common instruments you will see:
- Excavator / spoon excavator: removes decay or soft material
- Condenser/plugger: packs material (commonly associated with amalgam setups)
- Composite placement instrument: places and adapts composite
- Burnisher: smooths and contours
- Carver: shapes material and refines anatomy
You do not need to master technique on day one, but you should know what each instrument generally does so you can retrieve it quickly and place it back safely.
Matrix systems (common mix-ups)
A matrix helps recreate the tooth wall and contact.
Know the parts:
- Tofflemire retainer: the metal holder
- Matrix band: wraps around the tooth
- Wedge: seals at the gingival margin and helps contact
Students often confuse the retainer and the band. If it has the tightening mechanism, it is the retainer.
Curing light
Assistant responsibilities often include:
- Placing the barrier correctly
- Positioning for visibility
- Timing (per material instructions)
- Supporting safety with proper eye protection
Finishing and polishing (high level but practical)
You may see:
- Finishing burs
- Discs
- Strips (interproximal finishing)
Your job is to stage them so the dentist is not pausing to search mid-procedure.
Rotary instruments and accessory items (the “bur block” basics)
Rotary instruments move fast, cut efficiently, and require strict organization for safety.
Handpieces: high-speed vs. low-speed
- High-speed: tooth prep and cutting, usually with water spray
- Low-speed: finishing, polishing, removal of temporary material, and some hygiene attachments
Assistants typically check:
- Correct handpiece for the step
- Connection and function (per office protocol)
- Barriers and cleanliness
Burs: basic shapes to recognize
At recognition level, know common shapes:
- Round
- Pear
- Fissure
- Flame
You do not need to memorize every use immediately, but you should be able to identify them in a bur block and retrieve them safely.
Bur blocks and organization
Organization prevents:
- Injuries from loose burs
- Cross-contamination
- Wasted time during procedures
Keep burs separated, secure, and returned to their correct location.
Other accessories students overlook
These show up constantly:
- Articulating paper + holder
- Mixing pads
- Dappen dish
- Microbrushes
Knowing these “small items” makes you more efficient because you are not only focused on the major instruments.
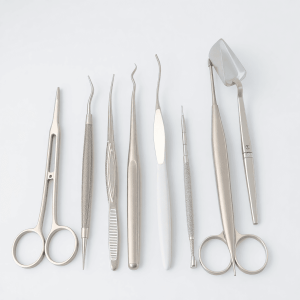
Basic oral surgery instruments (recognition + safe support)
Even in general offices, you may assist with extractions and minor surgical procedures. Your focus is identification, safe passing, and supporting visibility.
Common extraction setup instruments to recognize
- Periosteal elevator
- Straight elevator
- Extraction forceps (varies by tooth)
- Hemostat
- Tissue forceps
Suction tips for surgery (surgical HVE)
Surgical suction tips improve visibility and evacuation. Clear visibility is not just convenience; it supports safety and efficiency.
Curette/bone file/rongeur (recognition level)
These may appear depending on the case. You should be able to recognize them on the tray and pass them correctly when requested.
Suturing support basics
Recognize:
- Needle holder
- Suture scissors
- Tissue forceps
You are not expected to perform suturing technique in Level 01, but you should be able to identify and support the dentist confidently.
For more detailed insights into oral surgery, including the instruments used and their recognition, feel free to explore the link.
Post-op essentials on the tray
Common items:
- Gauze for pressure
- Saline (as used by the provider)
- Bite pack instructions and readiness support
Assistants often help confirm the patient understands basic post-op expectations and has what they need before leaving.
Impression and prosthodontic instruments (crowns, bridges, dentures)
These appointments are time-sensitive because materials set. Your calm, organized setup makes a big difference.
Impression trays (stock trays)
Be able to select:
- Upper vs. lower
- Correct size quickly
- Metal vs. disposable trays (based on office system)
Impression materials overview
Recognition level:
- Alginate: common for study models, some guards, some provisional workflows
- VPS (vinyl polysiloxane): common for crowns/bridges and detailed impressions
Know that timing matters and moisture control matters.
Mixing tools and automix systems
You may see:
- Rubber bowl + spatula (classic alginate)
- VPS cartridges with automix tips
Retraction cord instruments (cord packer)
Retraction cord may be placed around crown preps to manage tissue and moisture. Recognize the cord packer and understand why it is used, even if the dentist places it.
Bite registration materials
Assistants often manage:
- Keeping the field dry
- Timing the set
- Ensuring the bite registration is seated properly per provider direction
Orthodontic and pediatric add-ons you’ll see in many general offices
Even if you do not plan to work in ortho or pediatrics, many general practices offer these services.
Orthodontic basics to recognize
Recognition-level tools:
- Ligature cutter
- Distal end cutter
- Mathieu pliers
Common pediatric items
- Mouth props/bite blocks
- Isolation aids for smaller mouths
- Smaller suction tips
This is where your patient communication matters, especially with nervous kids and parents.
Sterilization, infection control, and instrument processing tools (non-negotiable)
Employers pay close attention to sterilization habits because they protect patients, staff, and the practice.
Instrument processing workflow
A typical sequence:
- Transport
- Ultrasonic/washer cleaning
- Packaging
- Autoclave sterilization
- Storage
Key items you should know
- Cassettes
- Pouches
- Indicators and chemical integrators
- Sterilization tape
- Utility gloves
- Instrument brushes (used safely to avoid punctures)
Sharps and biohazard basics
Know:
- Proper sharps containers
- Proper biohazard waste containers
- What never goes in regular trash (sharps, saturated biohazard materials, regulated waste)
This is a major reason practices seek assistants who are trained to be compliant and consistent.
A practical study plan: how to memorize dental instruments without feeling overwhelmed
Trying to memorize a full instrument list in one weekend usually backfires. A better approach is learning by category and sequence.
1) Learn “category first”
Go in this order:
- Diagnostic
- Isolation
- Anesthesia
- Restorative
- Surgery
- Impressions
2) Use flashcards with three prompts
On every card, include:
- Name
- Purpose
- When it shows up in an appointment
That third prompt is the secret. It turns memorization into workflow thinking.
3) Do hands-on practice
Set up a mock tray and run the appointment sequence out loud:
- “Exam instruments”
- “Isolation”
- “Anesthesia setup”
- “Restorative instruments”
- “Finish/polish”
- “Cleanup and processing”
4) Know the common mistakes
Watch for these:
- Confusing probe vs. explorer
- Mixing up matrix parts (retainer vs. band vs. wedge)
- Not knowing which suction tip to use (saliva ejector vs. HVE)
Confidence benchmark for Level 01
Aim to consistently:
- Identify instruments
- Retrieve them quickly
- Pass safely
- Process correctly after the procedure
How Broward Dental Academy helps you become fast, confident, and job-ready
Instrument knowledge is not just a classroom requirement. It is one of the fastest ways to become valuable in a practice.
The Dental Assistant Level 01 Training at Broward Dental Academy is designed to help students become thoroughly trained, legally compliant, and clinically confident, not just prepared to pass an exam. With structured instrument training, immediate immersion in online and clinical settings, modern eLearning lesson plans, and in-office internship exposure, students develop real-world readiness that employers recognize.
The dental industry continues to grow, and it offers stable income, flexible schedules, career mobility, and pathways to expanded functions over time. The goal is to build a respected, long-term position in healthcare with strong ethical habits and confident clinical performance.
If you are serious about becoming job-ready in a modern dental practice, explore Broward Dental Academy’s Dental Assistant Level 01 Training program today.
Additionally, for those looking to further enhance their skills after completing the Level 01 training, Broward Dental Academy also offers advanced programs such as the Dental Assistant Level 02 Training and the Dental Assistant Hygienists Level 03 Training.
Don’t delay, enroll today – you will be glad that you did!
FAQs (Frequently Asked Questions)
Why is it important for Level 01 dental assistant students to learn dental instruments early in their training?
Learning dental instruments early in Level 01 training helps students develop speed, safety, and confidence by recognizing instrument names, parts, and purposes. This foundational knowledge enables efficient setup, safe passing of instruments, and anticipation of procedural steps, which are critical skills valued by dental practices for clinical confidence, legal compliance with infection control and sharps safety, reliability under pressure, and proactive assistance.
How are dental instruments typically organized in a tray setup during a dental appointment?
Dental instruments in a typical tray are organized following the workflow of an appointment: exam and diagnosis, isolation and moisture control, anesthesia if needed, operative/restorative care or hygiene support, suction and instrument transfer throughout, and cleanup with instrument processing. Instruments are grouped into categories such as diagnostic, periodontal/hygiene, restorative, surgical, isolation, impression/prosthodontic, orthodontic, endodontic support, and sterilization/processing to streamline clinical procedures.
What are the primary functions of the mouth mirror in dental assisting?
The mouth mirror is essential for providing indirect vision by allowing the dentist to see around corners inside the mouth. It also aids in retraction by gently moving the cheek or tongue out of the way and enhances illumination by reflecting light onto hard-to-see areas. Proper use includes preventing fogging through warm water or anti-fog solutions and applying steady gentle pressure rather than forceful pushing during retraction.
How can students differentiate between an explorer (shepherd’s hook) and a periodontal probe?
An explorer like the shepherd’s hook (#17) is used to evaluate tooth surfaces and detect irregularities without measurement markings. In contrast, a periodontal probe has visible millimeter markings used specifically to measure pocket depths around teeth. Recognizing these differences helps students correctly identify instruments during exams and procedures.
What safety practices should dental assistant students follow when using cotton pliers (college pliers)?
When using cotton pliers to pick up or place cotton rolls, gauze, wedges, or small items like cotton pellets, students should avoid passing small items over the patient’s airway to prevent choking hazards. Controlled movements and constant awareness of the working end’s position help ensure safe instrument transfer during procedures.
How does Broward Dental Academy prepare students for real-world dental assisting through its Level 01 training program?
Broward Dental Academy offers hands-on clinical immersion combined with modern eLearning lesson plans that mirror real-world workflows. Their internship-style exposure introduces students to how instruments are used across various specializations such as orthodontics, endodontics, and periodontics. This comprehensive approach builds foundational habits in procedure sequencing rather than isolated tool names, enhancing student readiness for clinical confidence and job performance.